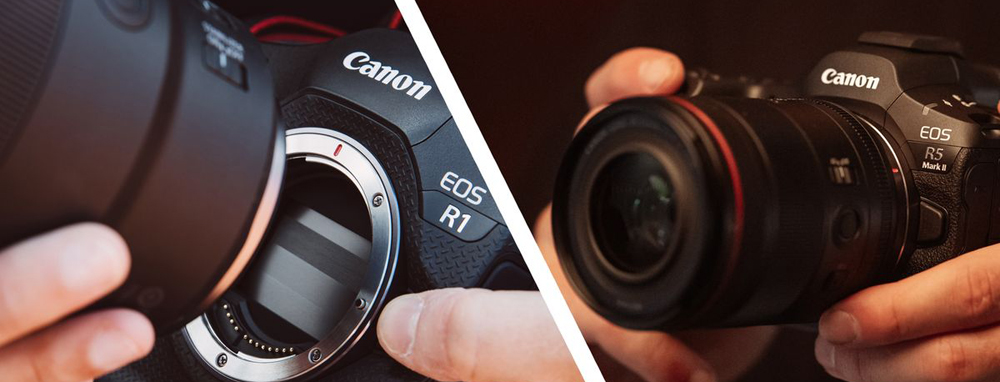
What is the best way to import Canon EOS R1 MP4 videos to Premiere Pro? The Canon EOS R1 is the highly anticipated mirrorless successor to the EOS-1D X Mark III, Canon's flagship DSLR. Like all top-tier cameras, the Canon EOS R1 gives the photographer many paths to success and has a focusing system that can be customized and tuned to your specific needs. Moving onto video, Canon EOS R1 builds upon its predecessor's capabilities with a number of options that better match the cinema camera series. These include renaming MP4 to XF-HEVC S or XF-AVC S, storing them in a new folder.
XF-HEVC S and XF-AVC S short films use the original Canon video format, which is an extension of H.265/HEVC and MPEG-4 AVC/H.264, respectively. These formats provide high data compression rates while maintaining image quality.
Sometimes you may encounter issues when importing MP4 files into Premiere Pro, despite MP4 being stated as compatible with this editor. What can we do when we can't import Canon EOS R1 MP4 videos to Premiere Pro? All you need to do is convert Canon EOS R1 XF-AVC S/XF-HEVC S footage to a format supported by Premiere Pro like MPEG-2 MPG, H.264 MOV, etc.
Which video converter should be chosen?
Acrok Video Converter Ultimate (For Windows | For Mac). It is an all-in-one video converter, which allows users to rip Blu-ray&DVD, convert and edit videos and audios on computer in high quality. As a result, you can batch convert Canon EOS R1 files to Premiere Pro with no data loss in a short time, not mention to its advanced video enhancer feature. Therefore, if you need to convert XF-HEVC S and XF-AVC S footage to Premiere Pro and other formats frequently, definitely you should use Acrok Video Converter Ultimate to solve the problem.
Free download and try Canon EOS R1 Video Converter Here
Steps on How to Convert Canon EOS R1 MP4 to Premiere Pro Friendly Formats
PS: The process is almost the same on PC and Mac. Here we will take Acrok Video Converter Ultimate for Windows as the example to show the MP4 to Premiere Pro and other lower versions conversion process.
1
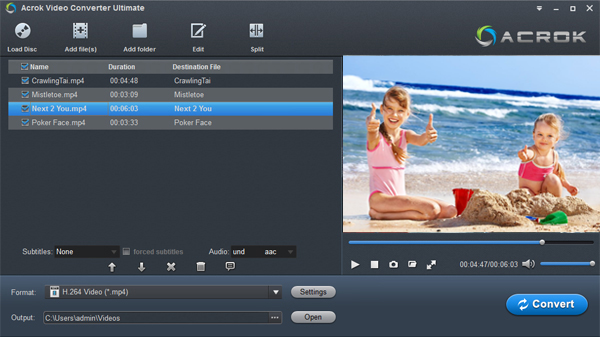
Add Videos
You can directly add your Canon EOS R1 .mp4 files into the software for starting your MP4 to Premiere Pro conversion. Just connect your R1, and then run Acrok Video Conveter Ultimate. Click the Add Files option, choose the files you want from the pop-up window, and click the Add to List button to import them.
2
Set Output Format
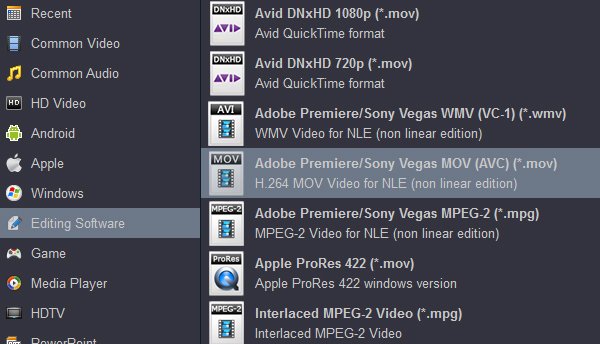
Click "Format" at the bottom. To convert Canon EOS R1 videos for editing in Premiere Pro, CC, CS7, CS6, you should choose "Editing Software" from its list. Then you can see various Premeire Pro compatible formats, such as MOV, MPG, WMV, etc. Just choose the certain output format.
3
Settings and Editing Video
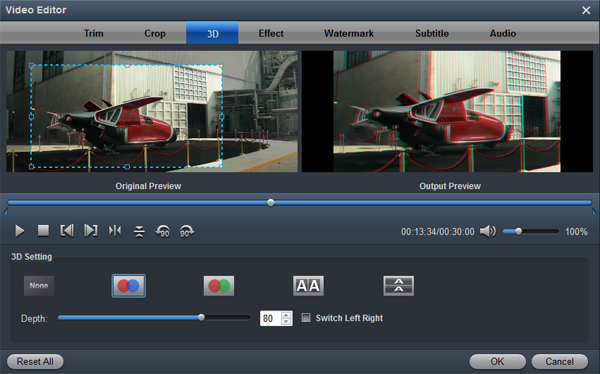
If the default settings do not fit your needs, you can click "Settings" button to adjust audio and video parameters as you like. Choose "Edit" icon on the top left corner. A new window pops up. The whole video editing interface is divided into 7 different sections. You can make simple edits according to your own needs.
4
Start Video Conversion
Click "Convert" button and the Canon EOS R1 files will be converted to Premiere Pro supported video format. After conversion, click "Open" folder to find converted footage. You can import and edit the converted video files in Premiere Pro smoothly.


